Design
Now we get to actually laying out and “building” your room. For this, there are two main steps; Setting up collision and tiling.
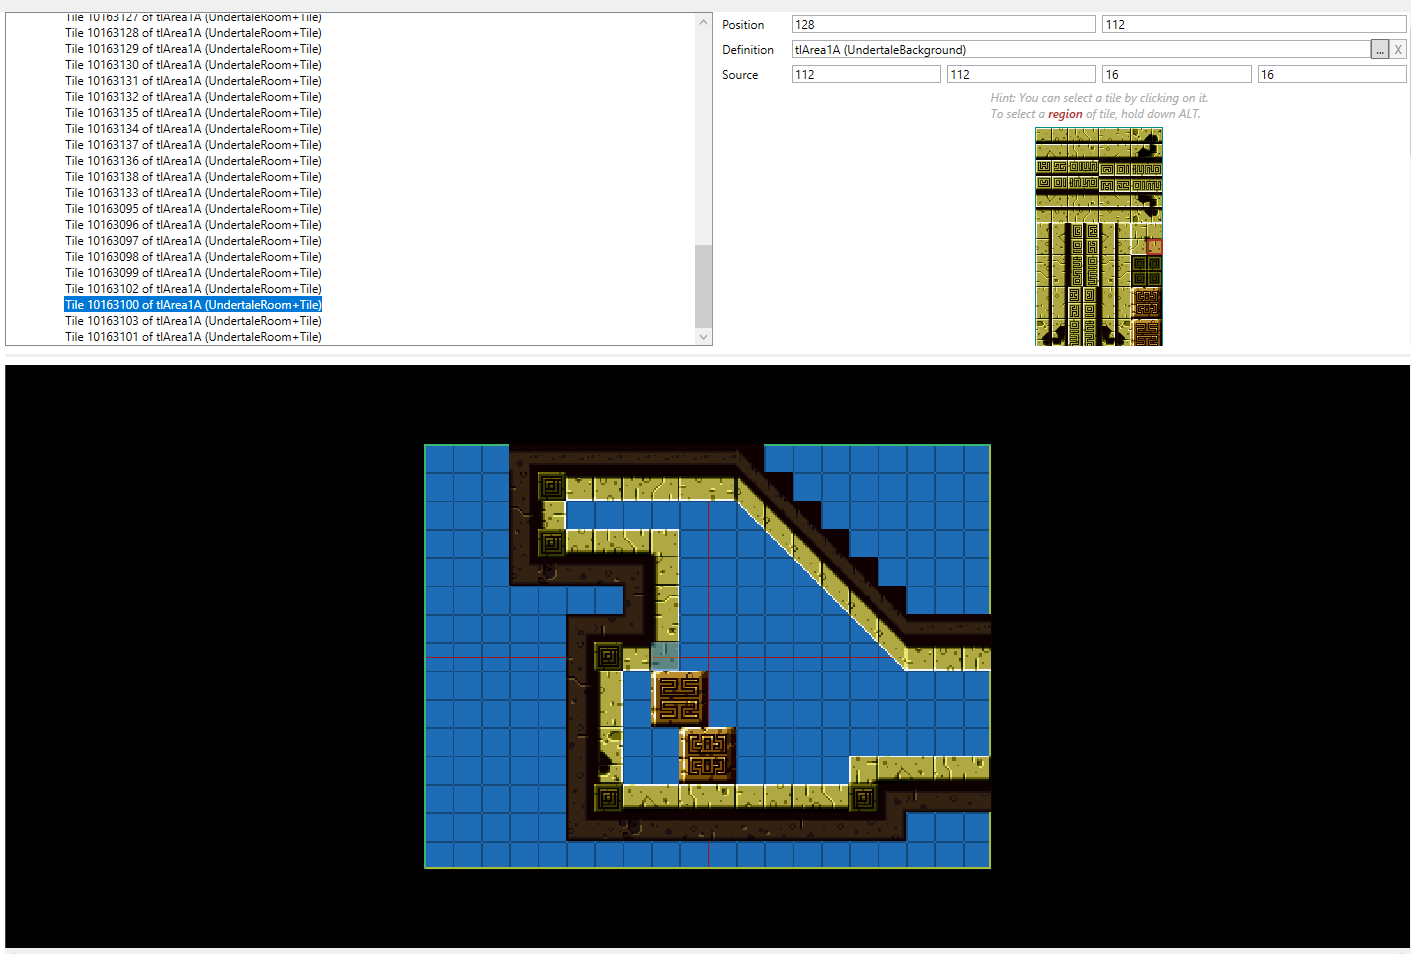
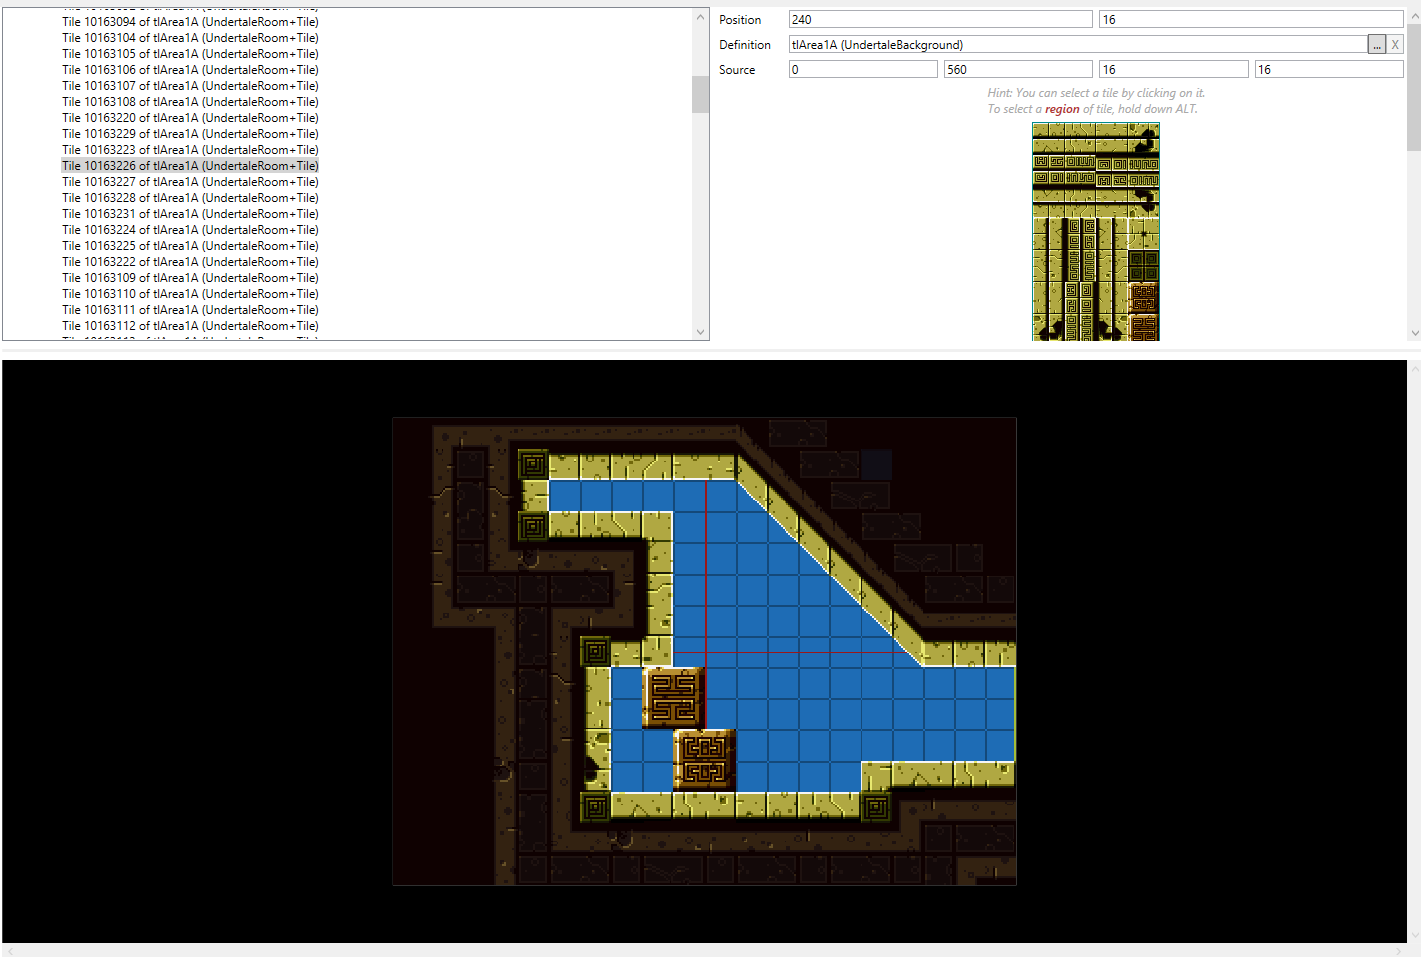
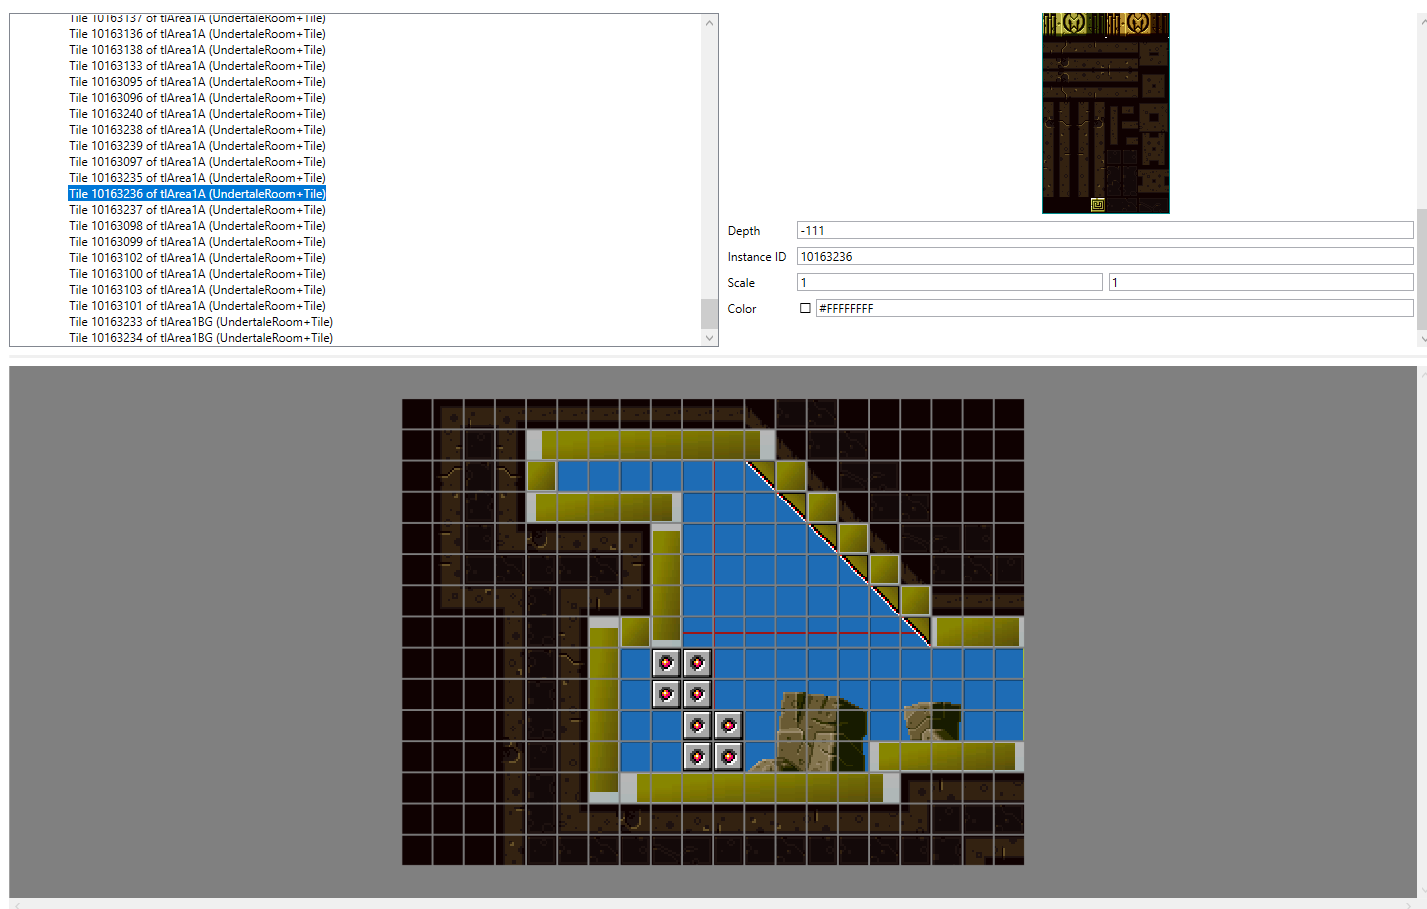
To give your room form, you can place tiles from the many different tilesets. Each tile is added individually by right clicking in the tiles section, selectingIt is generally recommended to do tiling first, as UTMT will always put the visuals for collision blocks in the foreground, meaning that doing tiling afterwards is a horrible experience.
add new tile, and then dragging the tileset that you want to use over from the left into the definition. This will be a slow process. Each unit or block that represents a tile is 16x16 pixels pixels large, and can be selected manually by setting the source position and size or selected automatically by clicking on the tile you want. However the latter option is sometimes not as good for tilesets which aren’t limited to blocks. It is helpful to use an image editor to find the coordinates of specific points for the former option. Tiles that are a multiple of 16x16 can be selected by holding ALT while dragging over the tileset thumbnail in the tile’s properties.
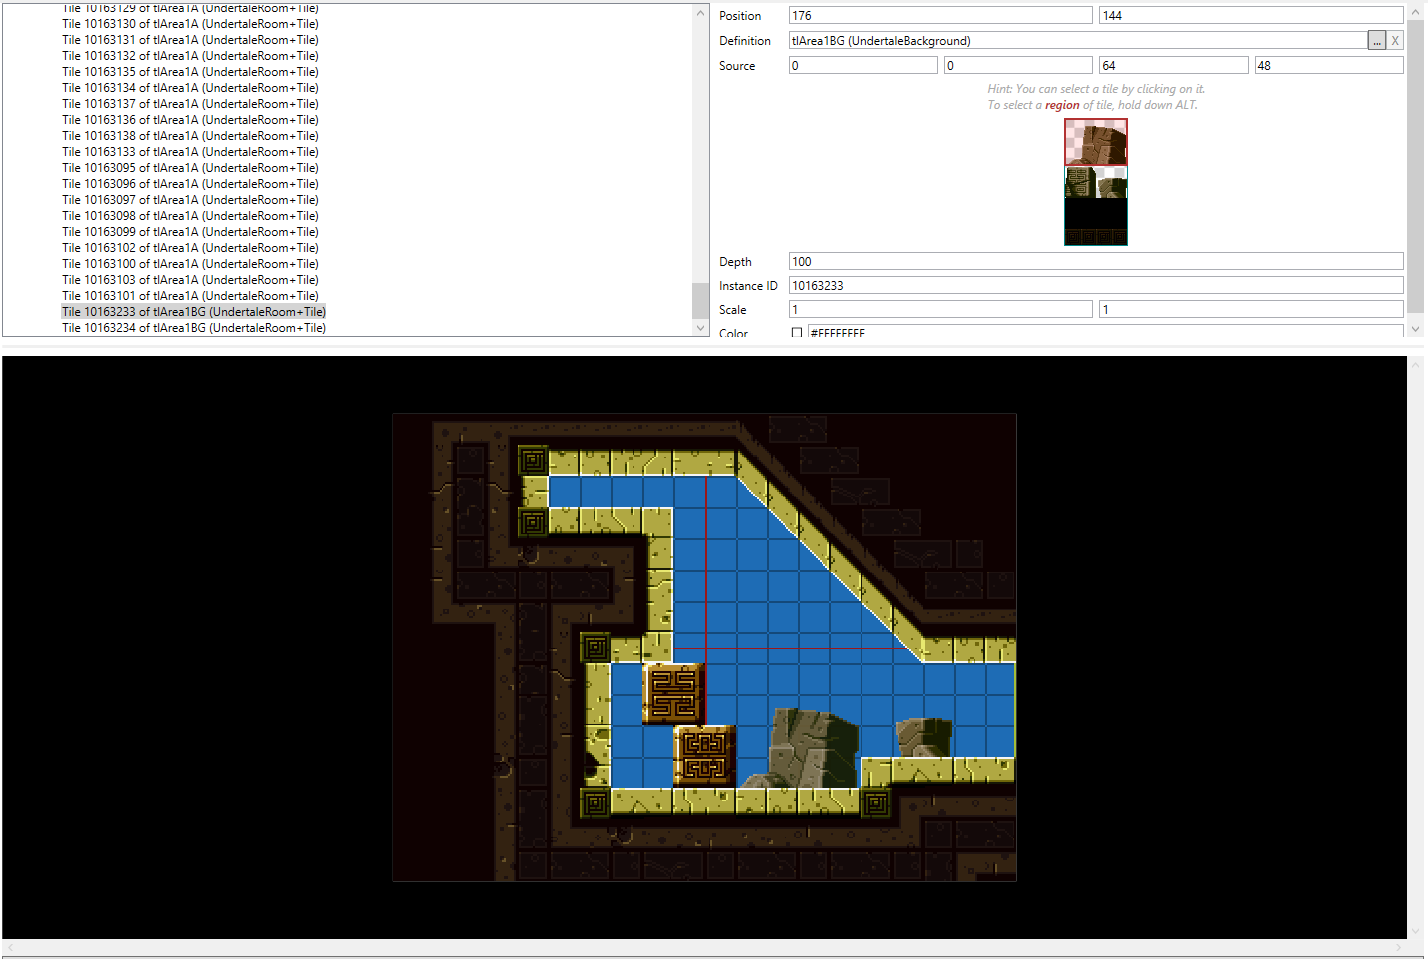
Take note of the depth variable when adding tiles. Since UTMT does not have a layer system, this value is what decides which tiles are in the foreground and which are in the background, with lower values being shown in front of higher values.
Here are some depth values to take note of:
- Backgrounds: 100
- Samus: -1
- Foreground: -100
- Breakable Blocks: -111/-112
- Fading Tiles: -120 (Do not work without an
oFadeTilesobject)
Something you can use to make the tiling process a lot faster is to duplicate existing tiles by holding ALT while click-dragging them in the room preview. This will copy everything from that tile, including depth and tileset. This drastically speeds up the tiling process, as you then don’t have to manually assign the same values to every tile.^
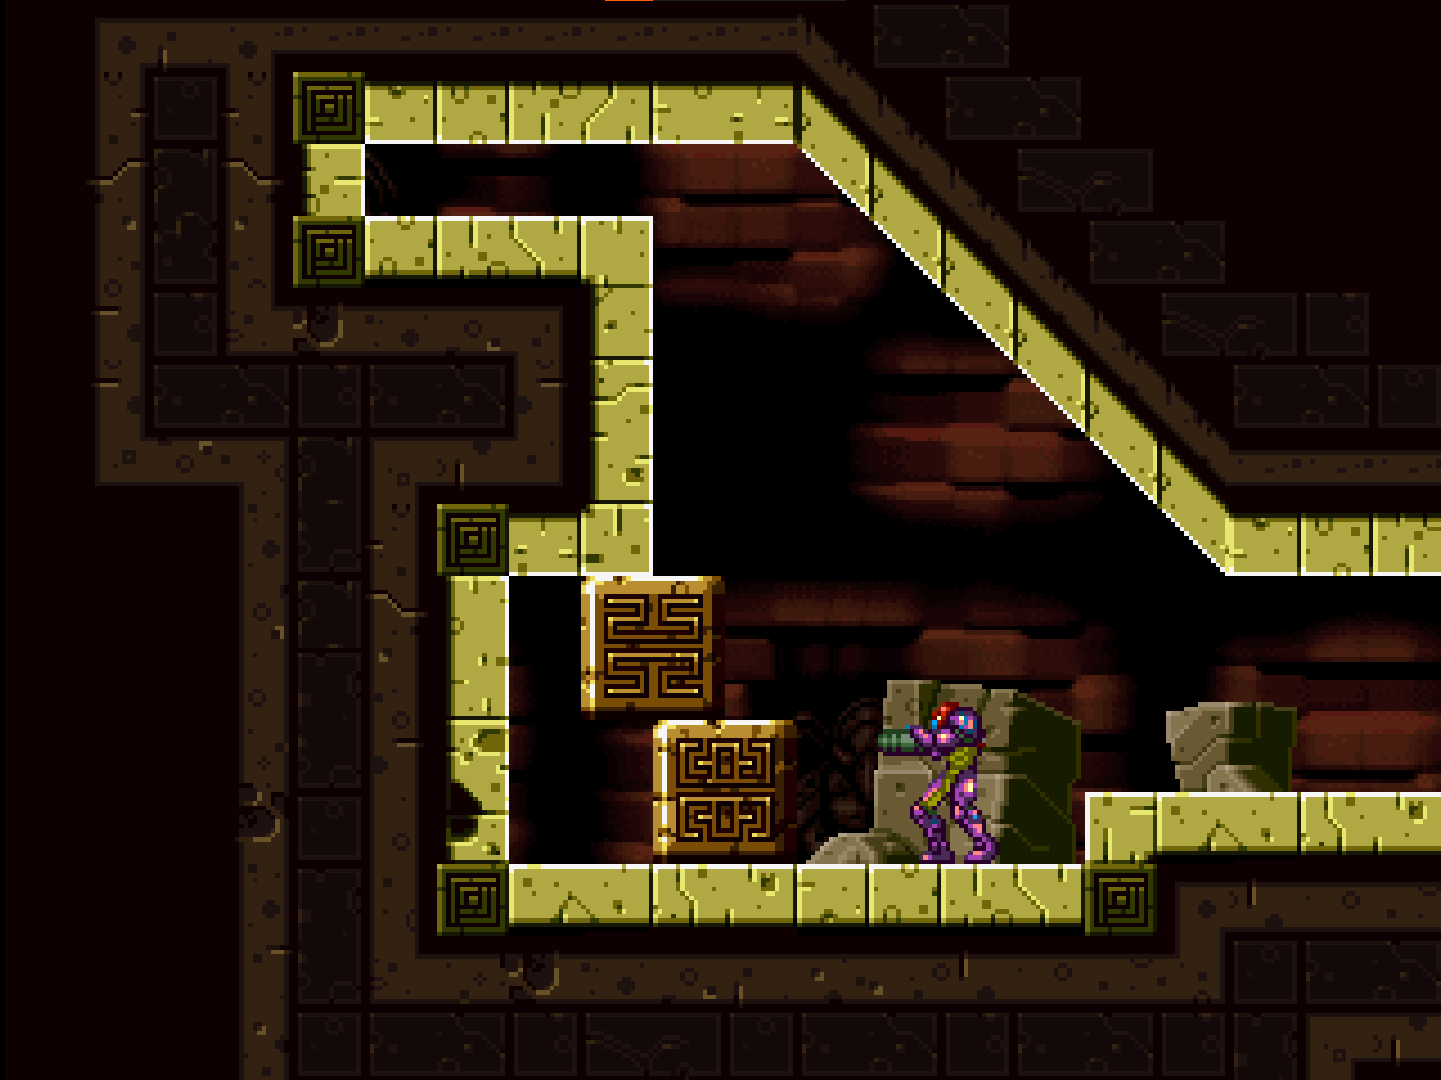
It is recommended to start with the tiles that the player will interact with, then adding stuff outside the playable area and lastly the background decorations.
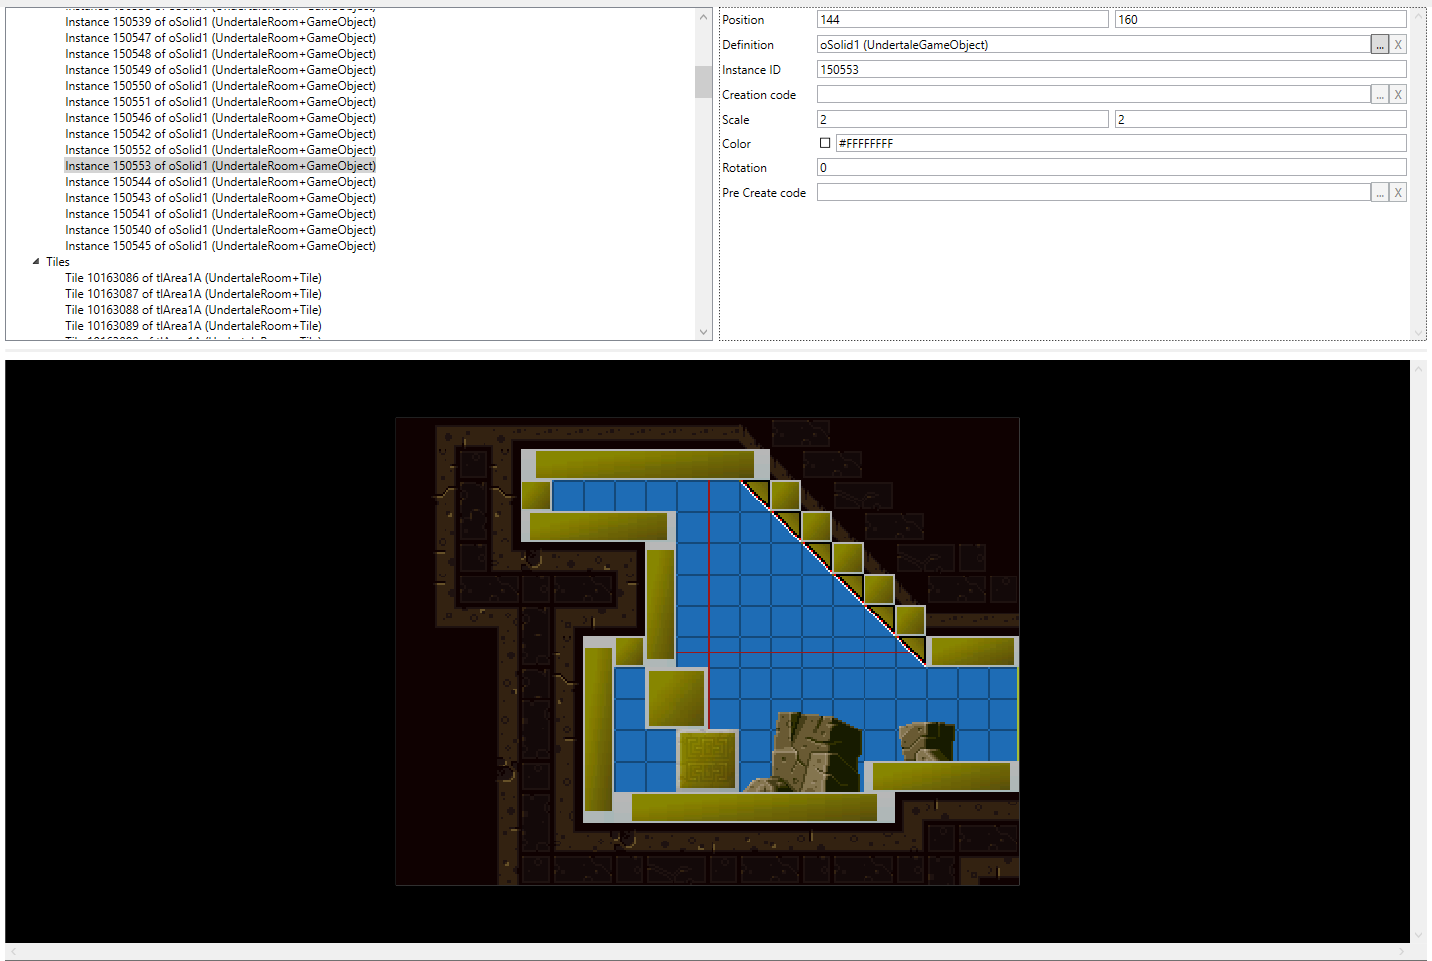
Now we can begin adding collision. For this we will use objects, in particular oSolid1 and oSlope(1-4). On the left Filter by name... box, search for solid. Here you will find all types of solids, though for most purposes, oSolid1 will be all you need. You can add it by dragging the object into the room, placing it where you want it, and optionally scale it to fit your needs. For sloped surfaces you can use the oSlope(1-4) and oSlope(1-4)B objects. Do not rotate these, instead, if the slope doesn’t have the correct orientation, take a slope with a different number and drag it into the definition box of your selected slope until you find the one with the right orientation.
Be careful when deleting objects. If there was any code that still referenced the object, expect crashes or other breakage in-game.
For puzzles and other uses, you can also search for missile, bomb, smissile and other destroyable blocks. Keep in mind that these blocks, as well as solid blocks, are invisible and do not appear without putting tiles over them or giving them creation code.
For this, there are two solutions:
- Add creation code for each of them and use
tile_link(tileset,x,y)as its content. It will link the block to a tileset and automatically use a 16 x 16 size. The x and y coordinates correspond with the top-left corner of the breakable block. - Place a tile in the position where the breakable block will be, and set the depth of that tile to either
-111or-112.
Here are all the breakable Blocks, along with what they are commonly refered to:
oBlockShoot; Beam blocksoBlockStep; Crumble blocksoBlockBomb; Bomb blocksoBlockMissile; Missile blocksoBlockSMissile; Super Missile BlocksoBlockSpeed; Speedboost BlocksoBlockPBomb; Power bomb blocksoBlockScrew; Screw attack blocksSome breakables (namely Shoot, Bomb and PBomb) also have Chain Variants.
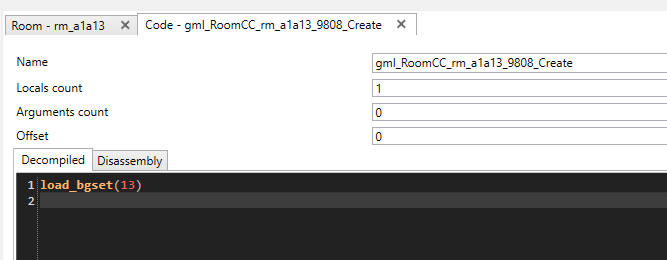
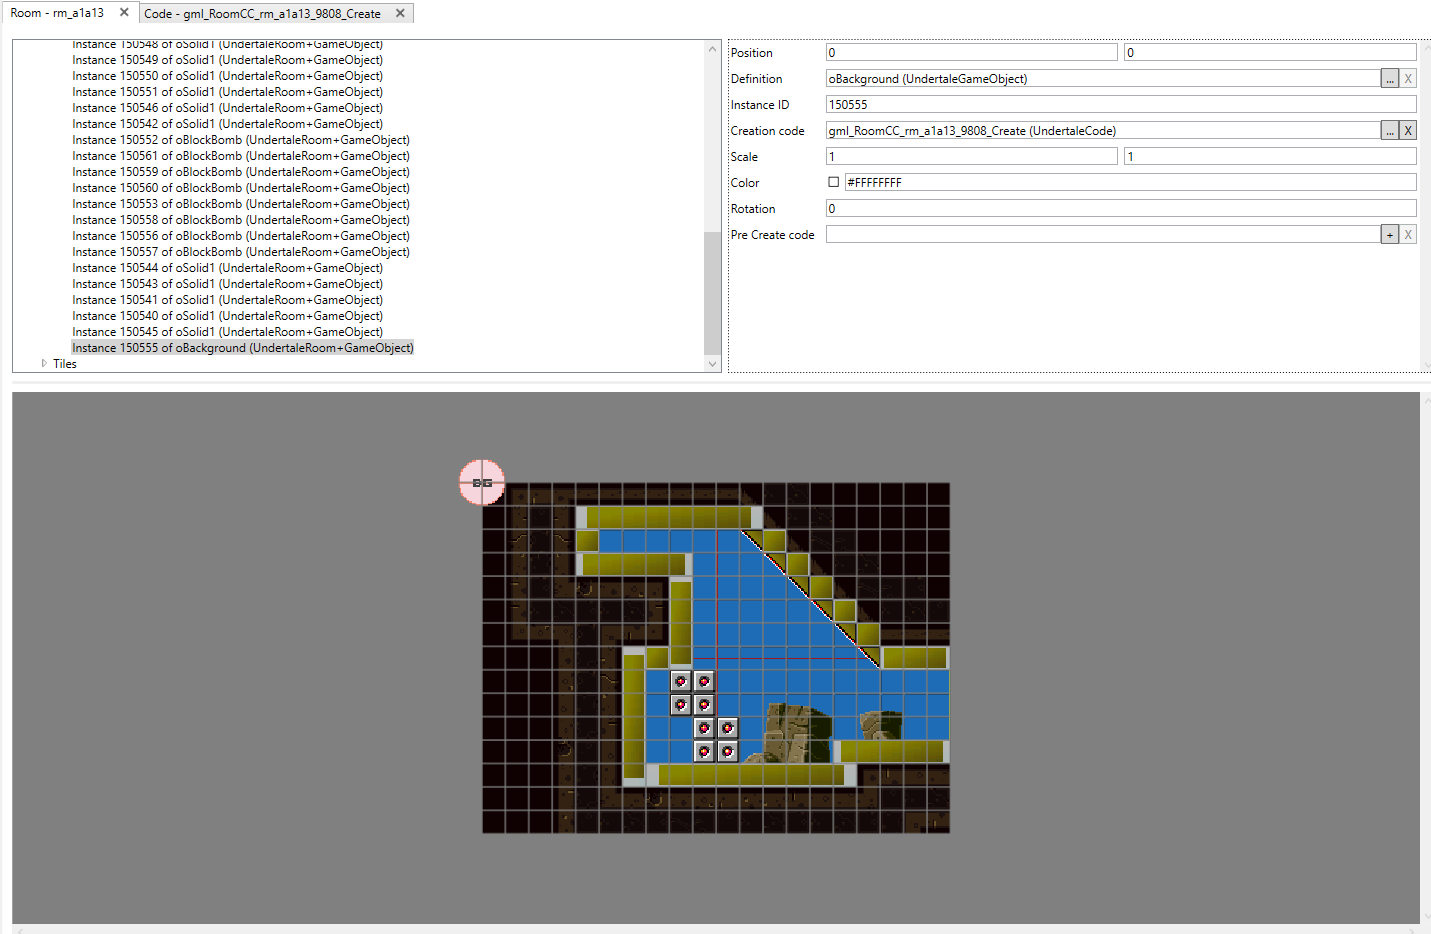
For backgrounds, you should place an oBackground object somewhere in the room. Usually they are placed in the top-left of the room. The oBackground needs creation code to function. Without it, the game will crash when trying to load the room. Right click on Code in the viewer on the left side and then click add. This will open a blank text window. As with rooms, object creation code follows a naming convention, starting with gml_RoomCC_, followed by the name of the room the object is located in (in our case it would be rm_a1a13), which is then followed by the code entry’s ID (the number that automatically generates when you first add your code element, in our case 9808) and finally _Create.
For the actual code itself, we only need one line to make the oBackground object function: load_bgset(value), where value decides what background will be used.
If you want to check what value corresponds to what background, open the gml_Script_load_bgset script. Here you will see if conditions in the format of if (argument0 == value). Inside the code block following these condition, there will be a line with bgid[0]. CTRL click on the number after the = and select the entry that has with UndertaleBackground in brackets. If you then CTRL click on it again, you will be taken to a separate page, showing you what background belongs to the value of that if condition.
Alternatively, you can always check an existing oBackground in a room that has the background that you want, and just take the value from there.
Remember to actually attach the creation code to the object you created it for. Objects likeoBackgroundwill not function properly and crash without them when you try to load the room they are located in.
Now, your room has tiles, collision objects, breakable blocks and a parallax background! You could even test it out in game right now, but currently you cannot get into your room. For this we will need transitions.