Upload your Mod
Now that you have your AM2RLauncher Mods, you’ll need to upload these zip files somewhere publically.
For this it is reccomended to not upload them on Google Drive / Mega / MediaFire etc., as a) those links can die
easily and b) they are not discoverable from a normal search engine.
You should instead use some Git-service, like GitHub or GitLab, as those are more reliable, and you’ll get other benefits
from it too (like easily going back to past versions to check for bugs, a place to post changelogs, a bug tracking system etc.)
Here, I’ll go through the process of releasing your Mod on GitHub. The process should be almost the same for GitLab, Gitea and similar.
First, you need to create an account and the repository:
-
Create an Account if you haven’t yet.
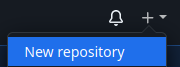
-
Log into the Account, click on the
+icon in the upper right corner, and then click on theCreate a new Repositoryoption.
Create a new Repository -
Enter the name of your mod as the repository and a short one-two sentences description. Make sure to check the
Add a Readme fileoption.- You can also change the visibility to
Privatehere, if you intend to release mods for a selected testing team. It’s always possible to change visibility later. - You don’t need to fill in a gitignore/license yet. This is covered somewhere down below
in case you want to add code to your repo
 TODO:
Actually write it
TODO:
Actually write it
It should look somewhat like this:
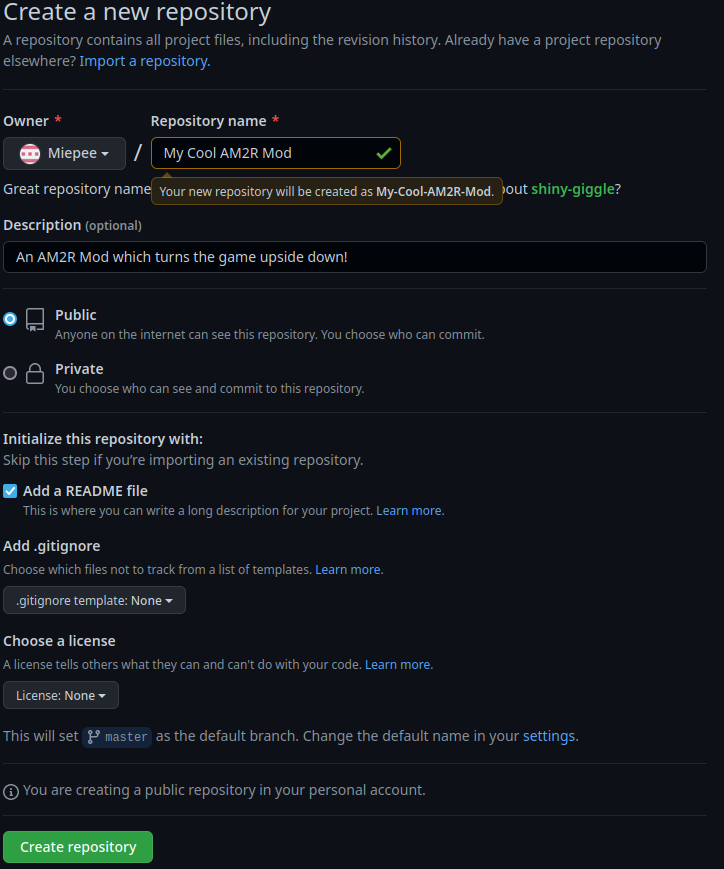
Example of a new Repository screen - You can also change the visibility to
Now that the repository is created, you should see a page with your readme, and some info on the right. If that is not the case, you probably missed something in the instructions above. Feel free to click at the top on Settings Tab, scroll down to the bottom, delete the repository, and try again.
If everything looks as expected, continue with publishing your release:
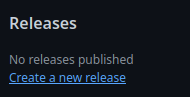
-
At the right side, right under
Releases, click on theCreate a new Releaselink.
Create a new Release -
Choose a Tag, a Release title, and a Release Description. Additionally, put your AM2RLauncher Mod(s) zips into the designated area, either via drag-n-dropping, or by clicking on the area and then selecting them.
- For the Tag, click on
Choose a tagdropdown, then type in your tag name (i.ev1.0), and then click onCreate new tag on publish - You can also mark releases as “Beta” essentially, by checking the
Set as pre-releaseoption
A release can look somewhat like this:
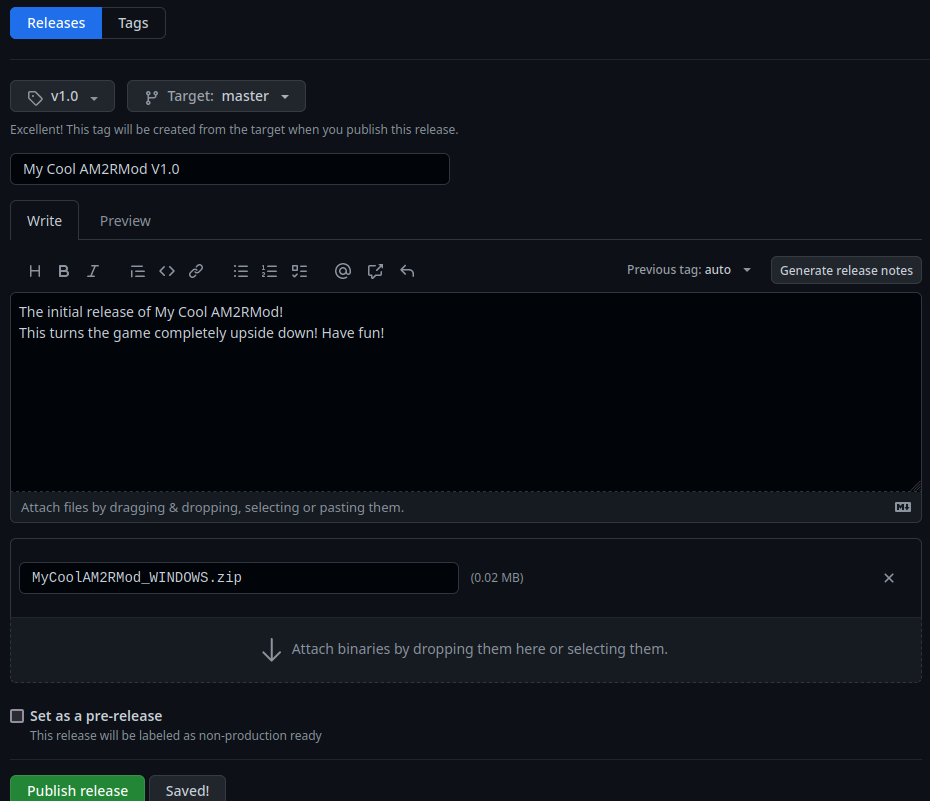
Example of a new Release screen - For the Tag, click on
That’s it! You have now uploaded your first Mod Release.
If you wish to upload a new version of your Mod, open the URL for your Mod, and then just start at Step 4.
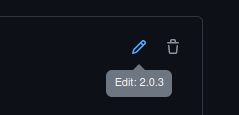
If you noticed after publishing a release, that you missed something in the description or forgot to upload another asset, you are able to edit the release by clicking the edit pencil in the upper right corner:
If you wish to change the name/description of your repository or the readme, you’re able to do that at any time. For the name/description you can do so from the Settings Tab at the top, for the readme you can do so from by clicking the edit pencil in the upper right corner.